
PuTTY for Mac: Set Up SSH in DartShell
After moving from Windows to macOS, you still need a suitable terminal client to reach the servers and network devices you previously accessed with PuTTY. The official PuTTY download page provides Windows installers and Unix source code, but no ready-to-install macOS package.
If you need a graphical interface for SSH or Telnet connections, DartShell is one option. This guide uses an existing SSH test host to explain connection settings, private-key authentication, saving a connection, and checking the result.
DartShell is a remote connection tool for macOS. Open the Mac App Store and search for DartShell to get it. The steps below use the Pro edition with an English interface, matching the screenshots.
Check the target host's connection requirements
Before you configure the client, have the server address, SSH port, username, and an authentication method permitted by the server ready. The target host must already have an SSH service enabled, and your current network must be able to reach it.
The test target here is a Mac on an isolated network, with SSH listening on port 22339. Enter the port configured on your own target host; a host using the default SSH configuration usually uses 22.
Configure the SSH address and authentication
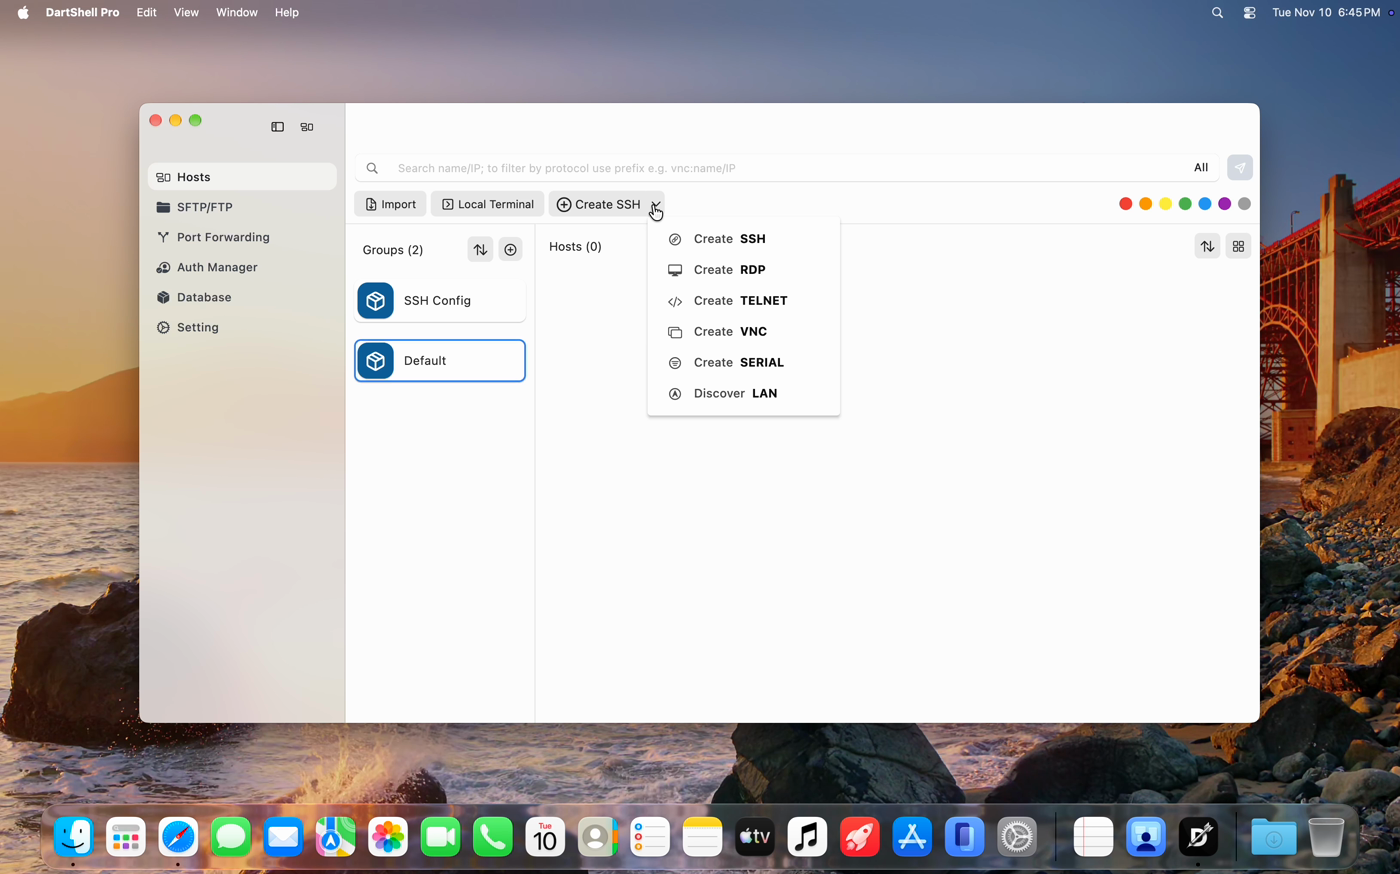
On the Hosts page, choose Create SSH and enter the server address, username, and SSH Port.
The test address is 192.168.64.1 and the username is yxf. These values belong to this test environment. Replace them with the details of your own target host.
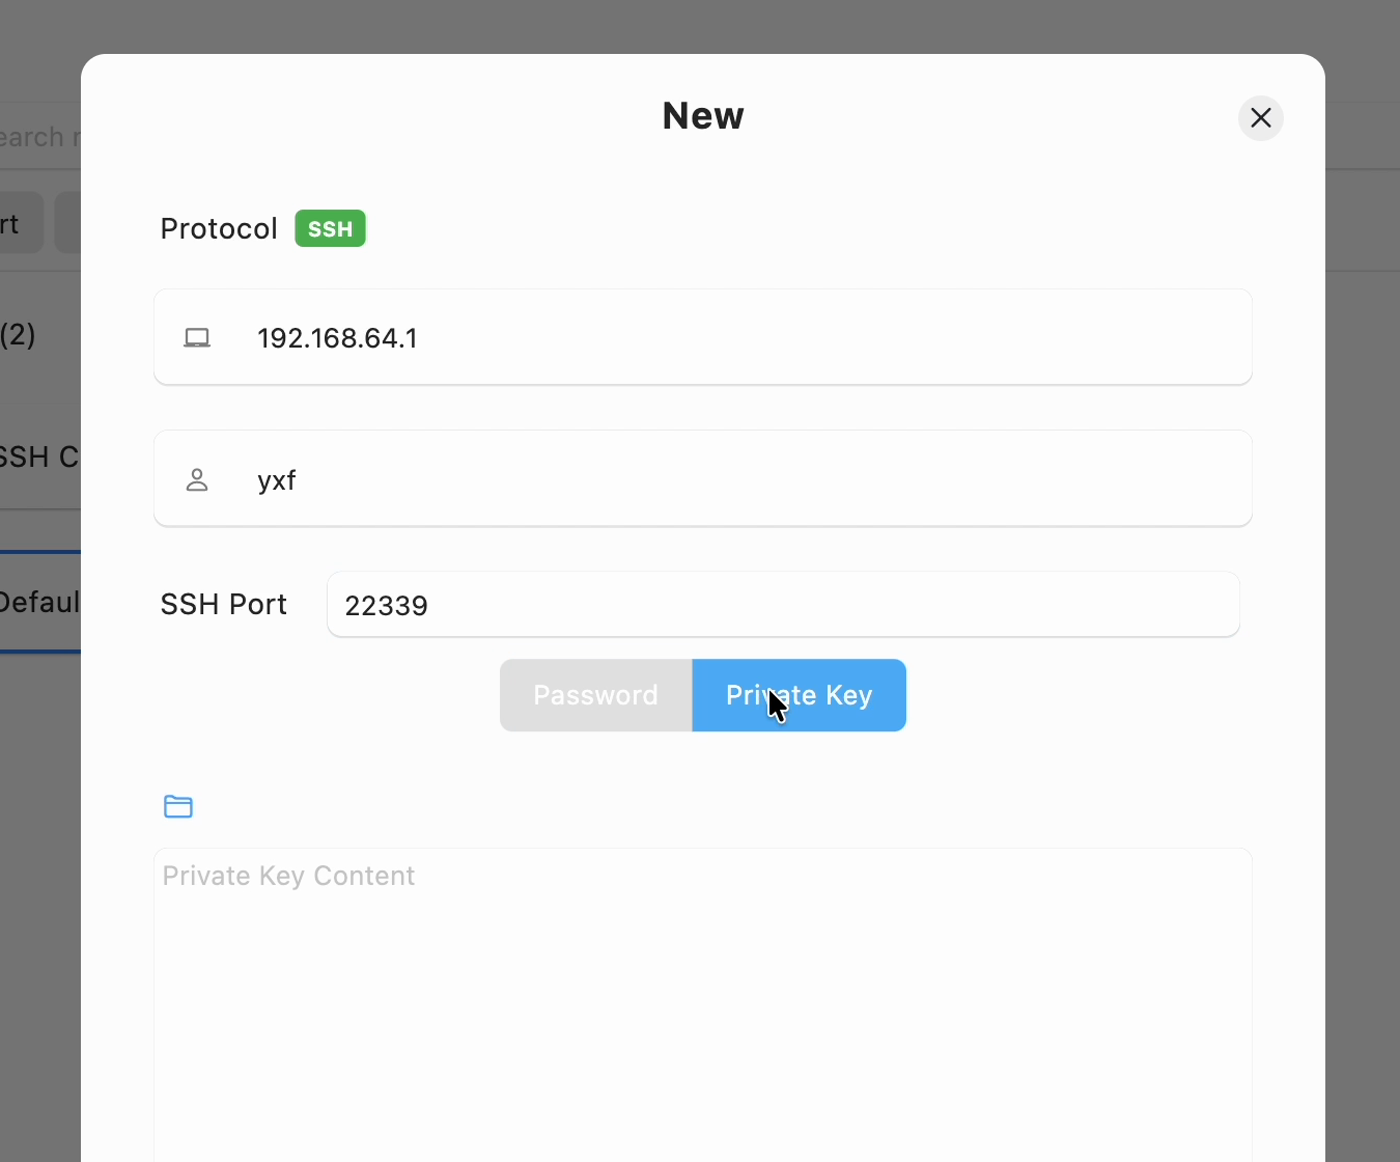
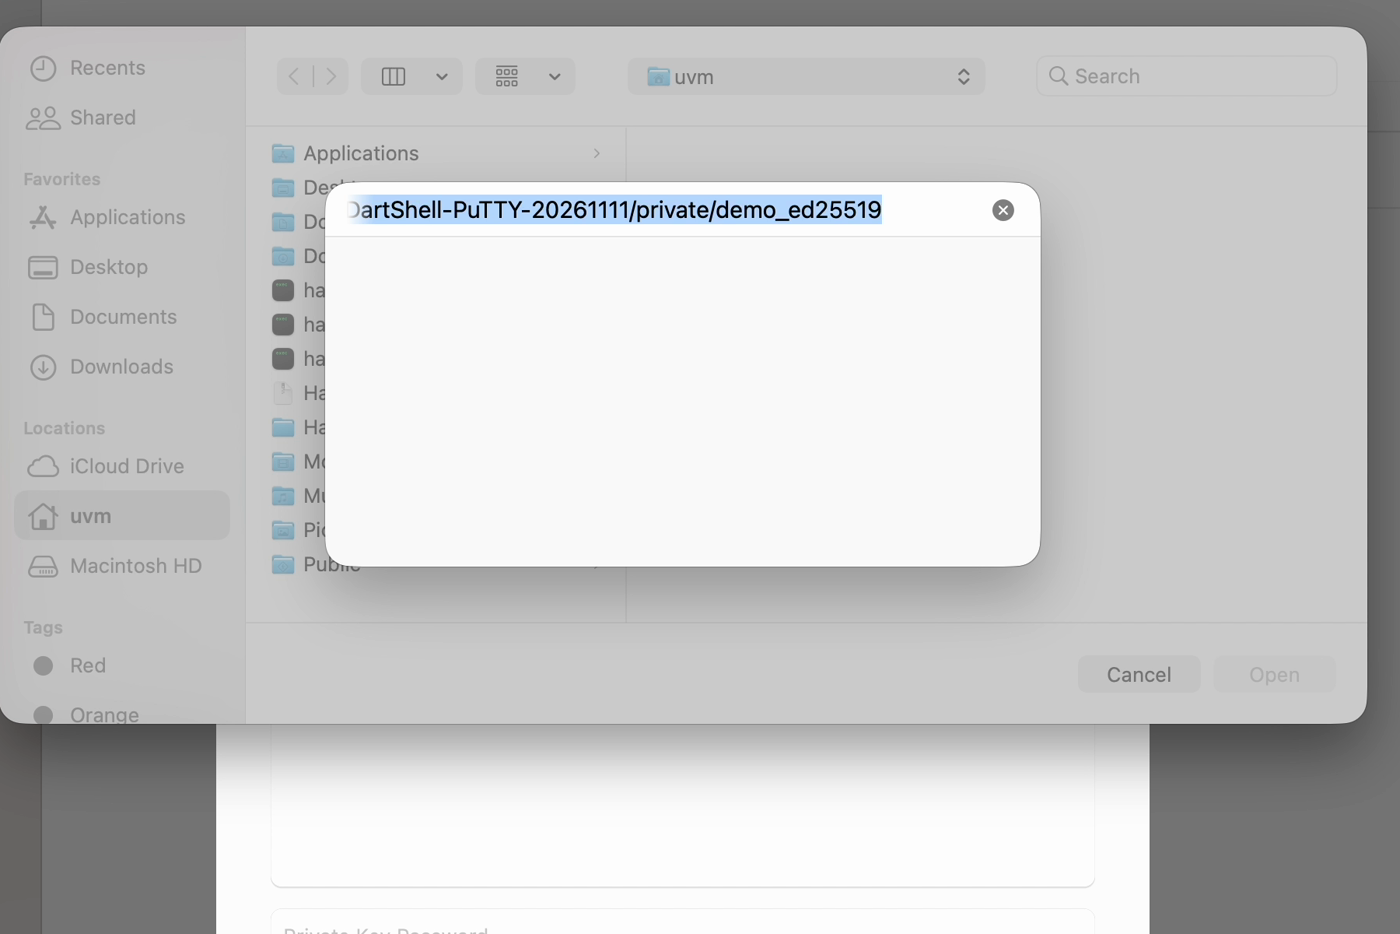
Next, choose an authentication method. If the server permits password authentication, select Password and enter the account password. This test uses a private key, so select Private Key and use the folder button to load an existing OpenSSH private key.
The matching public key must already be in the list of authorized keys for that account on the target server. If the private key has a passphrase, enter it in Private Key Password.
Save the connection and verify the remote terminal
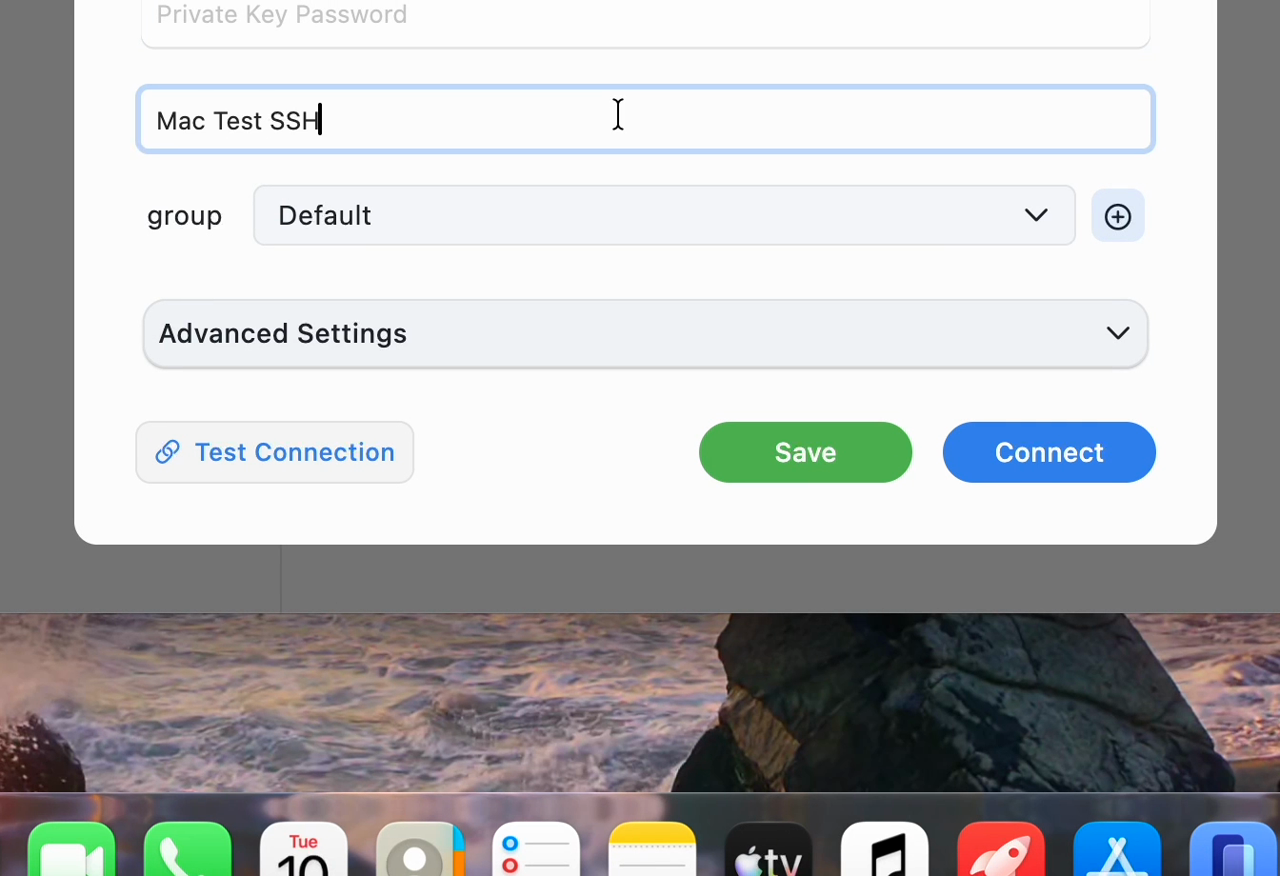
Give the connection a recognizable name and click Save. The test entry is named Mac Test SSH. It stores the details needed to access an existing server.
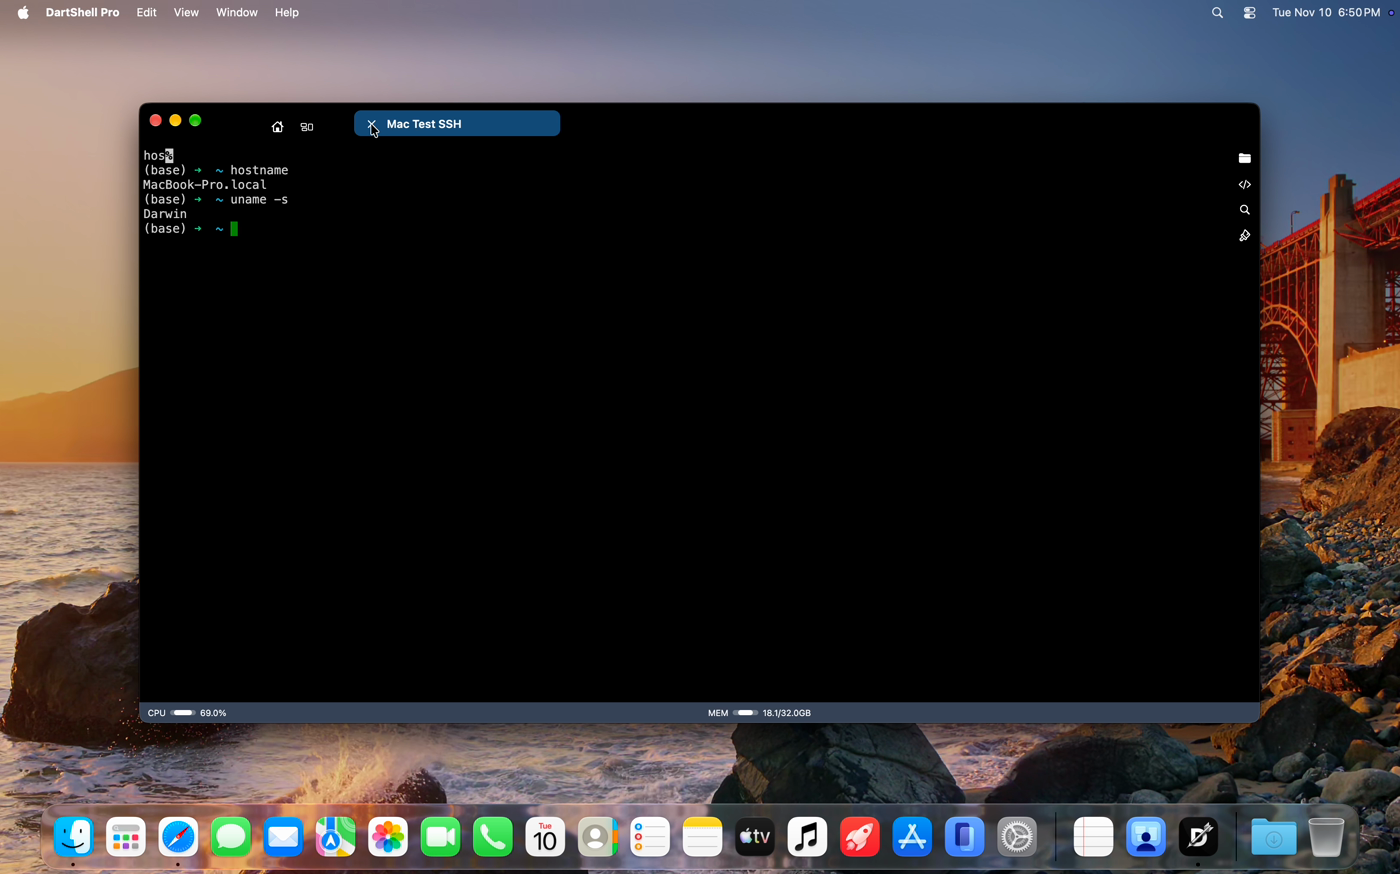
Return to the host list and double-click the entry to connect. Once a terminal prompt appears, run these commands to check the target:
hostname uname -s hostname displays the host name, and uname -s displays the operating system type. This connection returned the test host's name and Darwin, matching the target Mac. After closing the session, double-clicking the saved entry opened the terminal again successfully.
Handle an existing Telnet connection requirement
If your device provides a Telnet service, choose Create TELNET from the protocol menu and enter the address and port configured on the device.
Ordinary Telnet does not encrypt the transmitted data. Prefer SSH when the target server supports it. For devices that require Telnet, configure access according to the network and its access requirements. If a connection fails, check the protocol, address, port, service status, and authentication details in that order.
Related reading
More on the same problem, in the order most people need it.
- PuTTY for Mac: No Official Build, But These 3 Work
PuTTY has no official Mac build. Three ways to run it on Apple Silicon, plus a native Mac client with saved sessions.
- Telnet for Mac: Built-in Options and Alternatives
Apple removed the Telnet client, so telnet on a Mac no longer runs.
- Termius Alternative for Mac: How to Move Your SSH Setup
Moving off Termius on a Mac takes a config file, one connection test, and a clear look at what you still need.
DartShell
Want a smoother remote ops workflow on macOS?
DartShell brings SSH, RDP, VNC, SFTP, and serial access together in one native macOS app, so you can reduce tool switching and repetitive setup.
Download DartShell