
Bitvise SSH Client for Mac: Native Alternatives for SSH, SFTP, and Port Forwarding
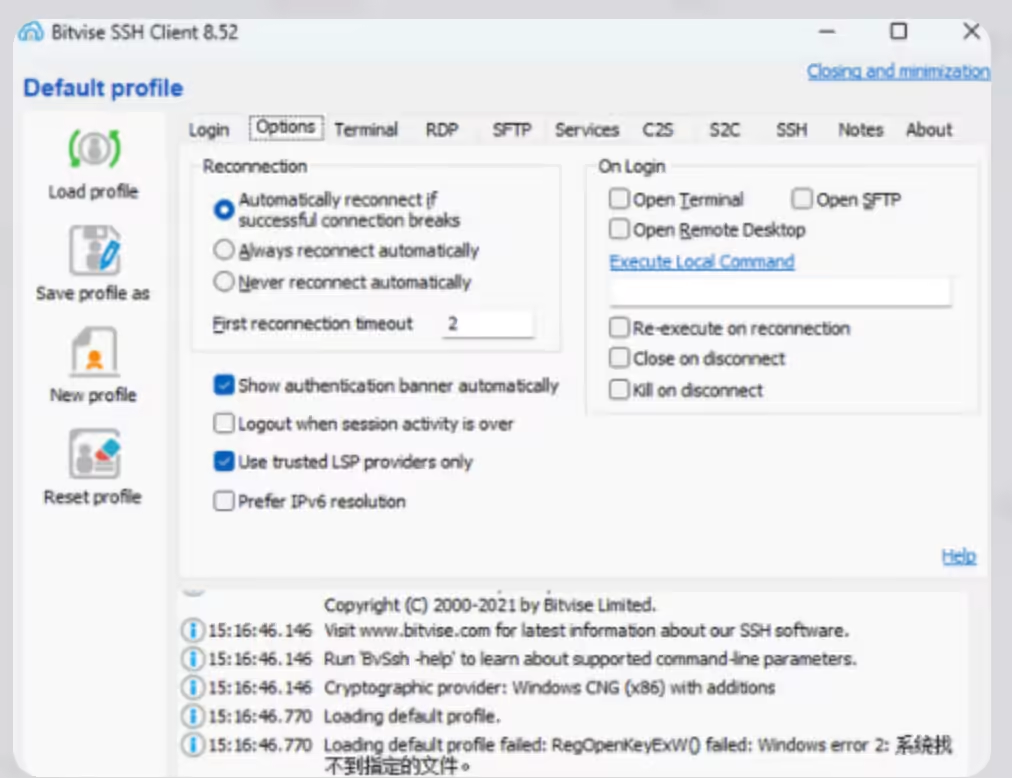
Bitvise SSH Client is a common remote connection tool for Windows. After configuring the Host, Port, Username, and authentication details, you can access an SSH terminal, manage SFTP files through a graphical interface, and set up local port forwarding.
After switching to a Mac, you need to maintain a sequence of three operations: logging in to a server and running commands, opening a remote directory to upload files, and accessing services on the remote network through SSH. DartShell brings SSH, SFTP, and port forwarding together in a single Mac client. When developing these features, I also worked on them in the practical order of logging in, uploading files, and setting up forwarding.
Save the Host Configuration and Establish an SSH Connection
The first step is to enter the host address, port, username, and authentication details used in Bitvise into the Mac client. Once the connection is established, I first run a remote command in the terminal to confirm that the current SSH session is working before proceeding to file operations.
This step may seem basic, but it determines which connection the subsequent SFTP and port-forwarding operations depend on. DartShell's development history also includes adjustments to SSH session handling and interface integration. For people who maintain servers frequently, saving the host configuration and returning directly to the same host is closer to the original workflow than re-entering the connection parameters every time.
Open SFTP After Logging In and Upload Files
Once the SSH connection is working, the next step is to open a remote directory in SFTP and upload local files to the server. This corresponds to a common Bitvise workflow: open the terminal to inspect logs, download or modify configuration files, and then upload them back to the original directory.
I encountered a specific issue here. After SSH disconnected and reconnected, the terminal recovered, but drag-and-drop uploads did not start correctly; the transfer status in the sidebar could also remain stuck on an old record. Subsequent development fixed both SFTP drag-and-drop uploads after reconnection and transfer-status refreshes in the sidebar. The upload module also includes controls for concurrent uploads and canceling uploads.
This development experience changed the order in which I perform checks. After completing the first upload, I also deliberately disconnect SSH, reconnect to the same host, and drag in a test file. I then observe whether the upload task starts, whether the transfer status refreshes, and whether the task can be canceled. The development history confirms the fixes and controls described above, but it does not contain a complete test record showing that this entire sequence passed. It is therefore better treated as a migration checklist.
Set Up Local Port Forwarding After Completing File Operations
After confirming the basic connection and file uploads, the next step in the same remote workflow is to set up local port forwarding. For example, if a database on the remote network cannot be accessed directly from the Mac, the SSH client can establish a local forwarding tunnel, after which the database client connects to the corresponding local address on the Mac.
While developing the relevant DartShell features, I used the SSH client to establish local port forwarding. During verification, I first confirm that the SSH session is still connected and then access the local port. The database client must also point to the local listening address instead of continuing to use the remote address that cannot be reached directly. After SSH disconnects, the existing forwarding tunnel must be re-established when reconnecting. This should be checked in the same test cycle as SFTP reconnection.
Which Bitvise Users This Alternative Workflow Suits
If you mainly use Bitvise for SSH login, graphical SFTP uploads and downloads, and local port forwarding, you can continue in DartShell using the same task sequence: save the host configuration, establish an SSH connection, open a remote directory to manage files, and finally start local forwarding to access remote services.
To determine whether the migration is complete, I check three results: whether the terminal remains usable after reconnection, whether SFTP uploads and sidebar status updates recover correctly, and whether port forwarding can be re-established. If you rely on unattended scripts, specialized proxy configurations, or other advanced features, you will need to verify them separately against your existing setup. The conclusions in this article cover only SSH, SFTP, and local port forwarding.
DartShell
Want a smoother remote ops workflow on macOS?
DartShell brings SSH, RDP, VNC, SFTP, and serial access together in one native macOS app, so you can reduce tool switching and repetitive setup.
Download DartShell